Why Checking Your Oil Level is Crucial for GTA Drivers
As a driver in Vaughan, North York, or anywhere across the Greater Toronto Area (GTA), you know your vehicle faces unique challenges. From the stop-and-go grind of Highway 401 traffic to the biting cold of Canadian winters, your engine works hard. At the heart of its performance and longevity is engine oil – the lifeblood that lubricates, cools, and cleans vital components. Ignoring your oil level can lead to serious engine damage, costly repairs, and even complete engine failure. That’s why understanding how to properly check your oil level is a fundamental skill for every car owner.
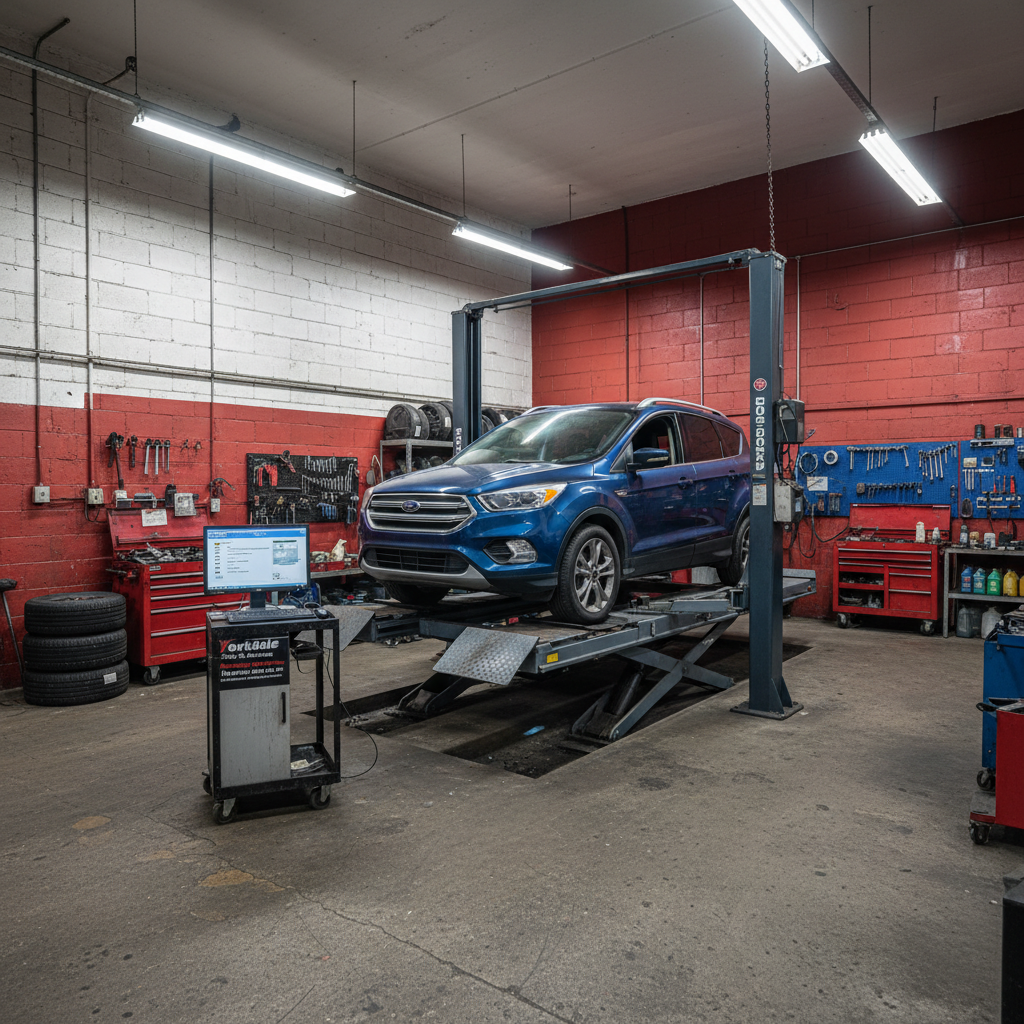
At Mr Memo Auto in North York, we believe in empowering our customers with the knowledge to maintain their vehicles. This comprehensive check oil level guide will walk you through the simple steps to ensure your engine oil is always at the optimal level, helping you drive with confidence no matter the conditions.
When Should You Check Your Engine Oil?
Consistency is key when it comes to vehicle maintenance. While modern vehicles often have advanced sensors, a manual check provides invaluable insight. We recommend checking your oil:
- Monthly: Make it a routine part of your car care.
- Before Long Trips: Heading out of the GTA for a weekend getaway? A quick check ensures peace of mind.
- If Your Oil Light Illuminates: This is a critical warning sign and requires immediate attention.
- After a Fuel-Up: Some drivers find it convenient to check their oil every few fill-ups.
Considering the demands of GTA driving – frequent short trips, heavy traffic, and varying temperatures – checking your oil more often than less is always a good idea.
Your Step-by-Step Check Oil Level Guide
Checking your oil is a straightforward process that takes only a few minutes. Follow these steps:
Step 1: Park on Level Ground and Let the Engine Cool
For an accurate reading, your car must be parked on a flat, level surface. If your vehicle is on an incline, the oil level in the pan will be skewed. While some manufacturers recommend checking oil when the engine is warm (but off for at least 5-10 minutes to allow oil to drain back into the pan), others suggest checking it cold. Consult your owner’s manual for your specific vehicle’s recommendation. Generally, allowing the engine to cool for at least 15-20 minutes after driving ensures most of the oil has settled.
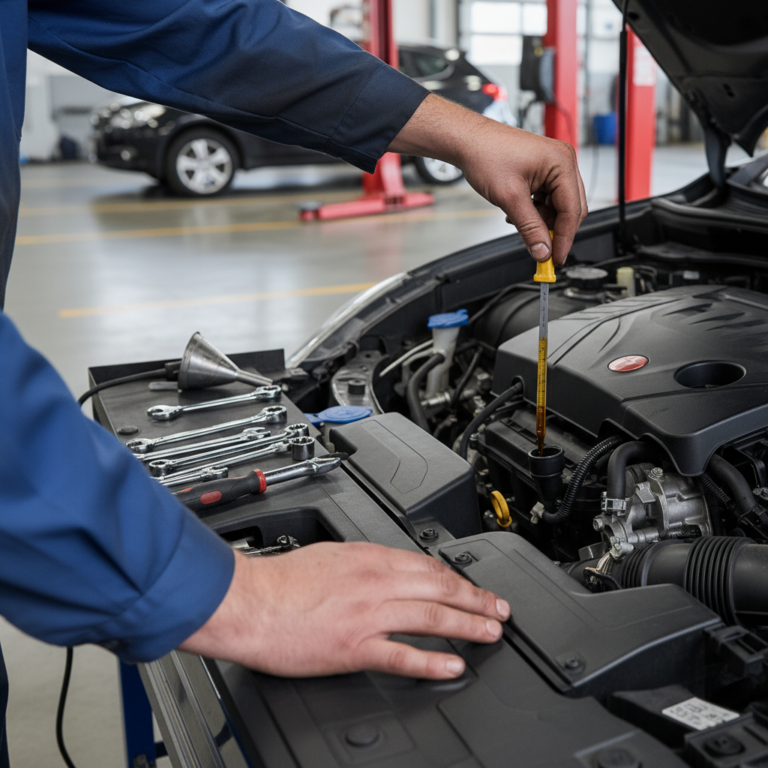
Step 2: Locate the Dipstick
Pop your hood. The oil dipstick is typically yellow or orange and easily identifiable, usually with a handle or loop. It’s often located near the front or side of the engine block. Pull it out completely.
Step 3: Wipe the Dipstick Clean
Using a clean rag or paper towel, thoroughly wipe off any oil from the dipstick. This ensures you get a clean, accurate reading on the next dip.
Step 4: Reinsert the Dipstick Fully
Push the dipstick back into its tube until it’s fully seated. Make sure it goes all the way in to get a true measure of the oil level.
Step 5: Pull Out and Read the Level
Pull the dipstick out again and observe the oil level. On the end of the dipstick, you’ll see two marks – typically dots, lines, or a cross-hatched area. The oil level should fall within these two marks. If it’s below the lower mark, you need to add oil. If it’s above the upper mark, you might have too much oil, which can also be problematic.
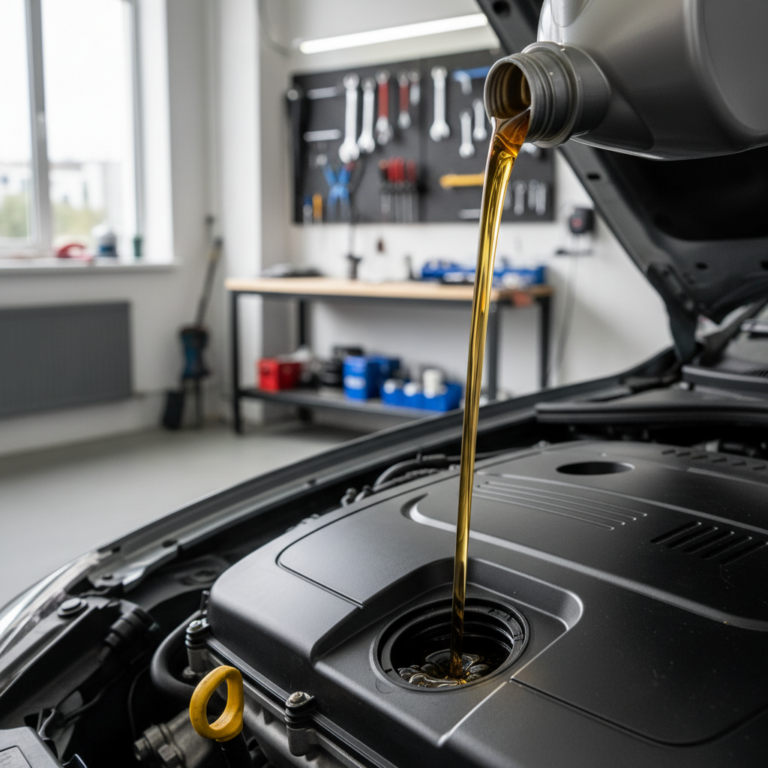
Step 6: Add Oil (If Necessary)
If your oil level is low, you’ll need to add the correct type and viscosity of oil specified in your owner’s manual. Most vehicles take about one litre of oil to go from the “add” mark to the “full” mark. Add oil slowly, a little at a time, using a funnel to prevent spills. After adding a small amount, wait a few minutes for the oil to settle, then re-check the level using the steps above until it’s within the safe range.
Step 7: Reinsert and Secure
Once the oil level is correct, firmly reinsert the dipstick into its tube. Close your hood securely.
Understanding Your Oil Beyond the Level
While checking the level is paramount, also pay attention to the oil’s condition. Fresh oil is typically amber or light brown and translucent. As it circulates, it picks up contaminants and darkens. Dark oil isn’t necessarily bad, but look out for:
- Milky or Foamy Oil: This can indicate coolant mixing with your oil, a sign of a serious issue like a blown head gasket.
- Metallic Particles: Tiny metal flakes in your oil are a red flag for internal engine wear.
- Strong Fuel Smell: Can indicate fuel contamination, potentially from a rich fuel mixture or other engine problems.
If you notice any of these issues, it’s time to visit Mr Memo Auto for a professional diagnosis.
Beyond the Dipstick: When to Call the Professionals
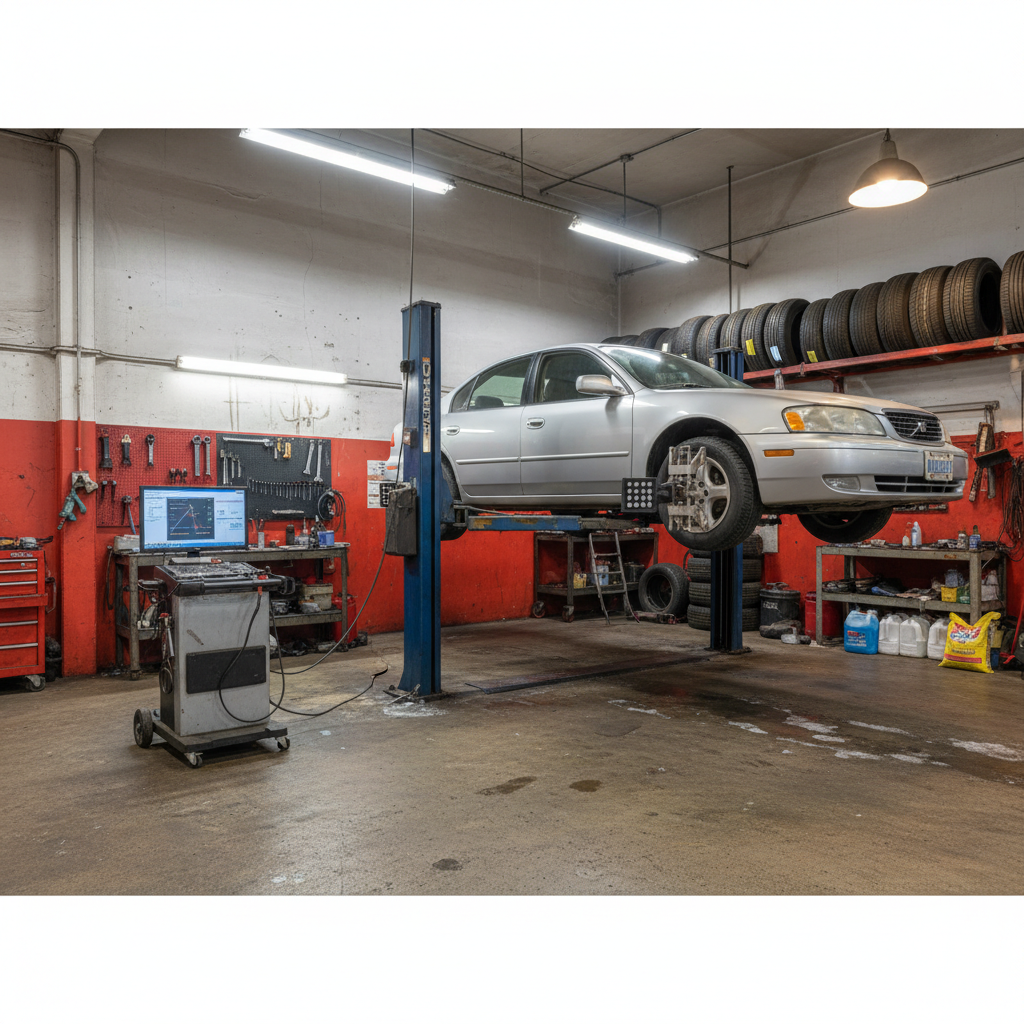
Even with this detailed check oil level guide, sometimes you need expert help. If your oil level is consistently low between changes, if you’re unsure about adding oil, or if you notice any unusual oil conditions, don’t hesitate. At Mr Memo Auto, we provide comprehensive professional oil change services tailored for the specific demands of Vaughan, North York, and GTA vehicles. We use quality oils and filters, ensuring your engine is protected against the rigours of Canadian winters and daily traffic. Regular, expert oil changes are an investment in your vehicle’s future, preventing costly repairs down the road and ensuring compliance with Ontario’s vehicle maintenance standards.
Ready for Your Next Oil Change?
Trust the experts at Mr Memo Auto in North York to keep your vehicle running smoothly. Our certified technicians use quality oils and filters suited for Canadian driving conditions.